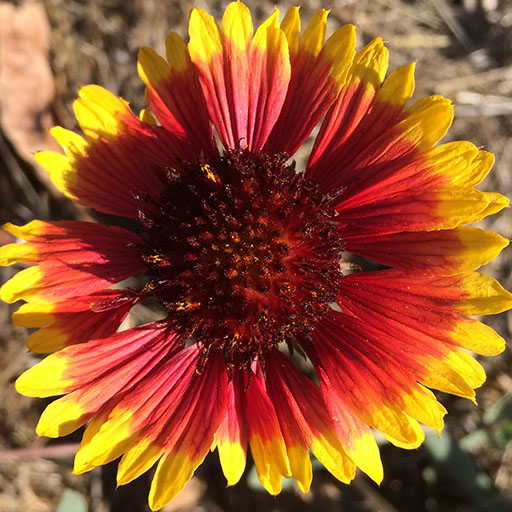
这是three.js基础学习的第十三篇内容。在之前的学习中,我们已经学习了three.js应用的基础组成部分geometry(图元)和material(材质)。本篇中,我们将学习一个material的一个可选组成部分,纹理贴图(Texture)。在之前我们做过的所有three.js demo示例,基本都是纯色的。在本节学习纹理贴图Texture后,除了纯色,我们还可以将各种设计图放到立体图形的显示面上去。所谓的Texture纹理贴图,可以将它和css中的背景图片做一对应。
在开始之前,还是和以前一样,先创建一个learnThree13.html的html文件,然后一如既往的删掉所有和构建3D图形有关的代码,只保留基础的代码。
代码复制完后,我们新建一个立方体
1
2
3
4
5
6
7
8
9
10
11
{ const boxGeometry = new THREE.BoxGeometry(width, height, depth) const material = new THREE.MeshBasicMaterial({ color: 0x00E5EE }) const box = new THREE.Mesh(boxGeometry, material) group.add(box) }
新建的立方体中,我们使用MeshBasicMaterial,因此可以不考虑光照的问题。接下来找一张自己喜欢图片,适当调整图片的大小,保证图片的长宽都是2的n次幂。
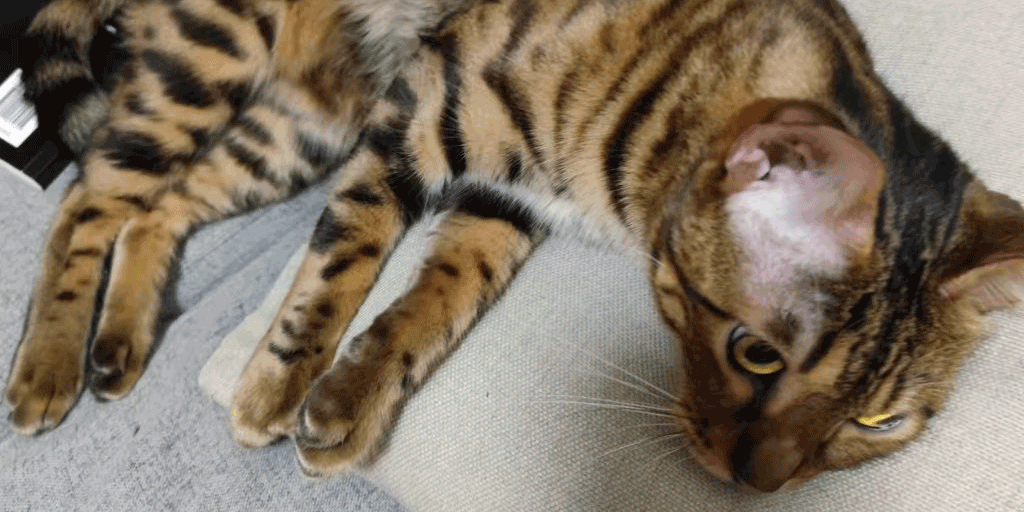
我这里准备了一张我家猫的图片,图片大小是1024 * 512。
在纯html中,我们需要通过设置img标签的src属性来加载图片,在css中我们通过bacckground的url值来加载图片,three.js中,也有类似的方式用来加载图片,其中我们需要的纹理贴图就是使用TextureLoader来加载。
首先,我们实例化loader
1 const loader = new THREE.TextureLoader()
然后,
1
2
3
4
const material = new THREE.MeshBasicMaterial({ // color: 0x00E5EE 删除代码 map: loader.load('https://picture.wuhoushu.com/blog/mao.png') })
这样,我们就成功的把我家猫放到了立方体的六个面上。
在上面的例子中,我们用loader的load方法加载了一个远程服务器上的地址https://picture.wuhoushu.com/blog/mao.png。实际上,load方法和html中的img标签的src属性一样,可以基于相对地址的本地图片,远程其它服务器上允许加载的图片,以及base64图片。
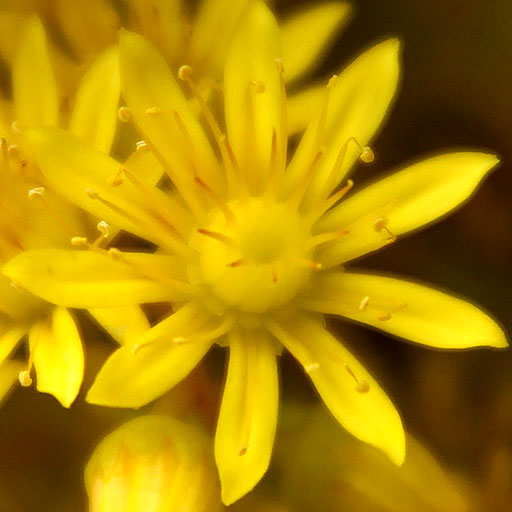
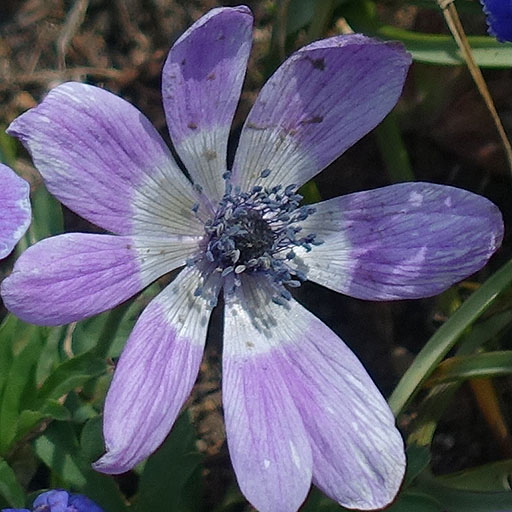
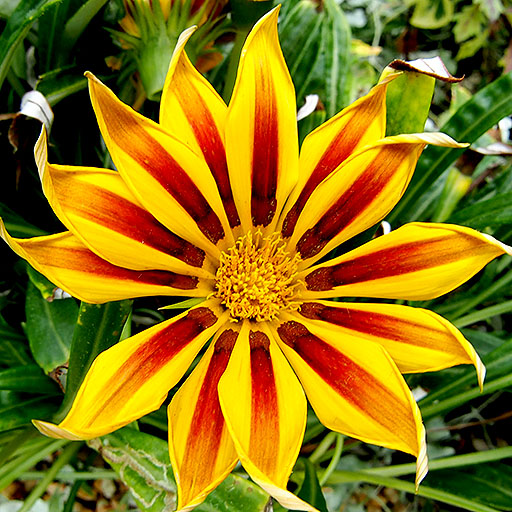
不过,如果我们需要将6个面设置成不同的背景图片,到底应该怎么做呢?其实也很简单,用数组把6个有不同背景的material包起来就行。
首先,还是继续找6张图片
然后,我们修改代买,将
1
2
3
4
const material = new THREE.MeshBasicMaterial({ map: loader.load('https://picture.wuhoushu.com/blog/mao.png') }) const box = new THREE.Mesh(boxGeometry, material)
改为
1
2
3
4
5
6
7
8
9
10
11
12
13
14
15
16
17
18
19
20
21
const materials = [ new THREE.MeshBasicMaterial({ map: loader.load('https://picture.wuhoushu.com/blog/flower-6.jpeg') }), new THREE.MeshBasicMaterial({ map: loader.load('https://picture.wuhoushu.com/blog/flower-5.jpeg') }), new THREE.MeshBasicMaterial({ map: loader.load('https://picture.wuhoushu.com/blog/flower-4.jpeg') }), new THREE.MeshBasicMaterial({ map: loader.load('https://picture.wuhoushu.com/blog/flower-3.jpeg') }), new THREE.MeshBasicMaterial({ map: loader.load('https://picture.wuhoushu.com/blog/flower-2.jpeg') }), new THREE.MeshBasicMaterial({ map: loader.load('https://picture.wuhoushu.com/blog/flower-1.jpeg') }) ] const box = new THREE.Mesh(boxGeometry, materials)
如果网速不是很好,刚打开页面的时候,是看不到咱们贴了图的3D图形的,只能看到单调的背景。这很好理解,图片加载需要时间,在图片加载出来之前,整个图形都是透明的。借鉴正常h5中的用法,在图片出来前,咱们应该加一个load。
如果我们只有一张图片,那我们可以使用回调函数的形式或者以对load方法进行Promise化,然后使用await来等待加载完成。
我们用第一个demo来演示一下
使用会掉函数
1
2
3
4
5
6
7
8
// 显示load loader.load('https://picture.wuhoushu.com/blog/mao.png', (texture) => { const material = new THREE.MeshBasicMaterial({ // color: 0x00E5EE 删除代码 map: texture }) ···接着写其它代码 })
使用promise
1
2
3
4
5
6
7
8
9
10
11
12
13
14
15
16
const load = (url) => { return new Promise((resolve, reject) => { try { loader.load(url).then((texture) => { resolve(texture) }) } catch { reject() } }) } const texture = await load('https://picture.wuhoushu.com/blog/mao.png') const material = new THREE.MeshBasicMaterial({ map: texture })
这是只有一个贴图的情况,如果有多个贴图怎么办呢?
LoadingManager管理纹理贴图加载进度
首先实例化LoadingManager。1 const loadingManager = new THREE.LoadingManager()
1 const textureLoader = new THREE.TextureLoader(loadManager)
最后,咱们来监测加载进度
1
2
3
4
5
6
7
8
9
10
11
12
13
loadingManager.onProgress((curLoadUrl, hadLoadNum, countLoadNum) => { console.log('当前正在加载' + curLoadUrl) console.log('当前加载进度:' hadLoadNum + '/' + countLoadNum) }) loadingManager.onLoad(() => { console.log('加载完成') }) loadingManager.onError((url) => { console.log('加载'+ url +'时出错') })
这样,利用loadingManager提供的onProgress,onLoad,onError方法,我们也能监控加载进度,显示load,直接加载完成。loadingManager适用于1个到多个纹理加载的管理。
在three.js中纹理图片占用内存的大小,并不等于图片的本身的大小,而是用宽度 * 高度 * 4 * 1.33字节来计算。
所以我们用的那张猫的图片,在three.js应用中占用的内存大小为1024 * 512 * 4 * 1.33 = 2789212.16 ,要2M左右。
wrapS, wrapT的使用repeat, rotation,offset 在three.js 中,进行纹理位置管理,需要设置两个参数wrapS用于水平包裹,wrapT用于垂直包裹。他两有三个参数,分别如下:
THREE.ClampToEdgeWrapping 最后一个像素会无限重复
THREE.RepeatWrapping 正常的惊醒重复
THREE.MirroredRepeatWrapping 镜像重复
后面不管是repaet还是rotation,都需要和wrapS和wrapT配合使用。wrapS对应x,wrapT对应y。
repeat决定在那个方向上重复,分别是repeat.x和repeat.y。
在代码Promiese化的基础上,我们添加下面代码,来镜像重复y方向
1
2
3
4
5
const texture = await load('https://picture.wuhoushu.com/blog/mao.png') if (getSearchObj('repeat') === 'true'){ texture.wrapT = THREE.MirroredRepeatWrapping texture.repeat.y = 2 }
然后,我们就看到了如下效果
texture.rotation决定了纹理贴图的旋转角度。继续改造已经镜像的代码
1
2
3
if (getSearchObj('rotation') === 'true') { texture.rotation = 0.2 * Math.PI }
到了这里,还剩下wrapS和offset没有使用,会不会有有缘人按照我的源码和之前已经学过的部分,自己去试一下呢?
在下一个教程 中,我们再详细讨论纹理贴图中的wrapS,wrapT,repeat,rotation, offset
源码地址https://www.91yqz.com/learnThree/learnThree13.html) ,打开后右键可看完整源码,这里我将本文用到的源码贴下来。
1
2
3
4
5
6
7
8
9
10
11
12
13
14
15
16
17
18
19
20
21
22
23
24
25
26
27
28
29
30
31
32
33
34
35
36
37
38
39
40
41
42
43
44
45
46
47
48
49
50
51
52
53
54
55
56
57
58
59
60
61
62
63
64
65
66
67
68
69
70
71
72
73
74
75
76
77
78
79
80
81
82
83
84
85
86
87
88
89
90
91
92
93
94
95
96
97
98
99
100
101
102
103
104
105
106
107
108
109
110
111
112
113
114
115
116
117
118
119
120
121
122
123
124
125
126
127
128
129
130
131
132
133
134
135
136
137
138
139
140
141
142
143
<script> function getSearchObj (key) { const search = window.location.search.replace('?', '') const list = search.split('&') const obj = {} for (let i = 0; i < list.length; i++) { const eachList = list[i].split('=') obj[eachList[0]] = eachList[1] } return obj[key] } async function main () { const search = location.search const canvas = document.querySelector('#three') const renderer = new THREE.WebGLRenderer({canvas}) const fov = 75; const aspect = 2; const near = 0.1; const far = 200; const camera = new THREE.PerspectiveCamera(fov, aspect, near, far) const group = new THREE.Group() group.position.z = -10 const lineMaterial = new THREE.LineBasicMaterial({ color: 0xffffff, linecap:'round' }) const loader = new THREE.TextureLoader() const load = (url) => { return new Promise((resolve, reject) => { loader.load('https://picture.wuhoushu.com/blog/mao.png', (texture) => { resolve(texture) }) }) } { const width = 4 const height = 4 const depth = 4 const boxGeometry = new THREE.BoxGeometry(width, height, depth) const texture = await load('https://picture.wuhoushu.com/blog/mao.png') if (getSearchObj('repeat') === 'true'){ texture.wrapT = THREE.MirroredRepeatWrapping texture.repeat.y = 2 } if (getSearchObj('rotation') === 'true') { texture.rotation = 0.2 * Math.PI } const material = new THREE.MeshBasicMaterial({ // color: 0x00E5EE, map: texture }) const box = new THREE.Mesh(boxGeometry, material) if (search.includes('box') || !search) { group.add(box) } } { const width = 4 const height = 4 const depth = 4 const boxGeometry = new THREE.BoxGeometry(width, height, depth) const materials = [ new THREE.MeshBasicMaterial({ map: loader.load('https://picture.wuhoushu.com/blog/flower-6.jpeg') }), new THREE.MeshBasicMaterial({ map: loader.load('https://picture.wuhoushu.com/blog/flower-5.jpeg') }), new THREE.MeshBasicMaterial({ map: loader.load('https://picture.wuhoushu.com/blog/flower-4.jpeg') }), new THREE.MeshBasicMaterial({ map: loader.load('https://picture.wuhoushu.com/blog/flower-3.jpeg') }), new THREE.MeshBasicMaterial({ map: loader.load('https://picture.wuhoushu.com/blog/flower-2.jpeg') }), new THREE.MeshBasicMaterial({ map: loader.load('https://picture.wuhoushu.com/blog/flower-1.jpeg') }) ] const box = new THREE.Mesh(boxGeometry, materials) box.position.x = 6 if (search.includes('boxMutipla') || !search) { if (search.includes('boxMutipla')) { box.position.x = 0 } group.add(box) } } const scene = new THREE.Scene() { const lightColor = 0xffffff; // 灯光颜色 const intensity = 1; // 灯光强度 const light = new THREE.DirectionalLight(lightColor, intensity); light.position.set(-1, 2, 4); scene.add(light); } scene.add(group) function resizeRenderSizeToDisplaySize () { const pixelRatio = window.devicePixelRatio; const displayWidth = canvas.clientWidth * pixelRatio const displayHeight = canvas.clientHeight * pixelRatio const renderWidth = canvas.width; const renderHeight = canvas.height; const needResize = displayWidth !== renderWidth || displayHeight !== renderHeight return needResize } function render (time) { if (resizeRenderSizeToDisplaySize()) { const pixelRatio = window.devicePixelRatio; const width = canvas.clientWidth * pixelRatio const height = canvas.clientHeight * pixelRatio renderer.setSize(width, height, false) camera.aspect = canvas.clientWidth / canvas.clientHeight; camera.updateProjectionMatrix(); } time *= 0.001 group['children'].forEach((each, index) => { each.rotation.x = -time each.rotation.y = -time }) // group.position.y = time // group.position.x = time renderer.render(scene, camera) requestAnimationFrame(render) } requestAnimationFrame(render) // render() } main() </script>
